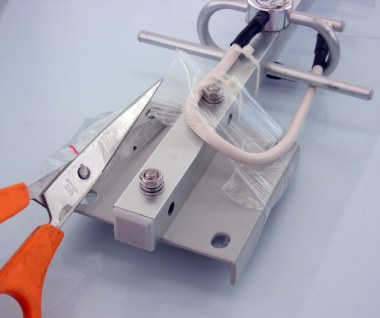
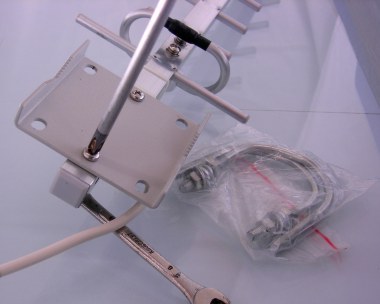
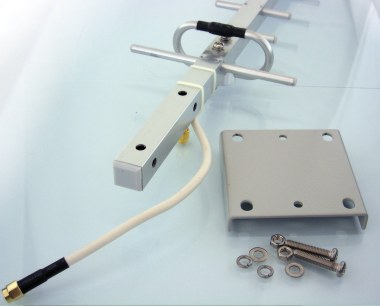
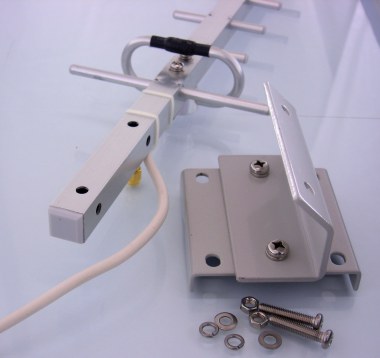
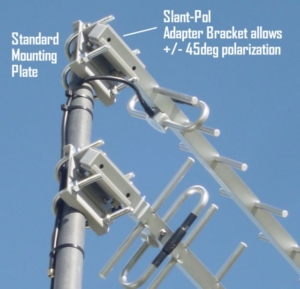
Assembly Instructions – MiMo Yagi Antenna Kits
Required Tools
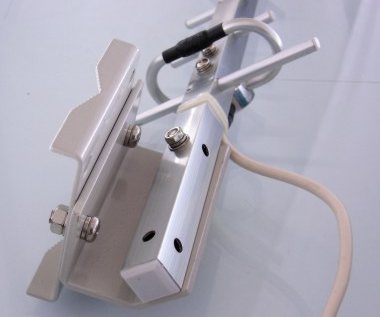
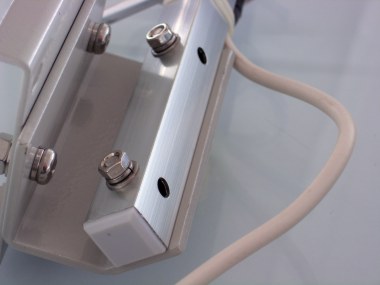
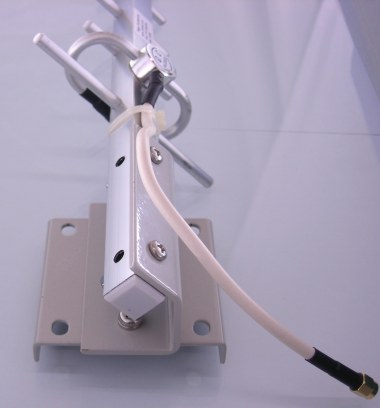
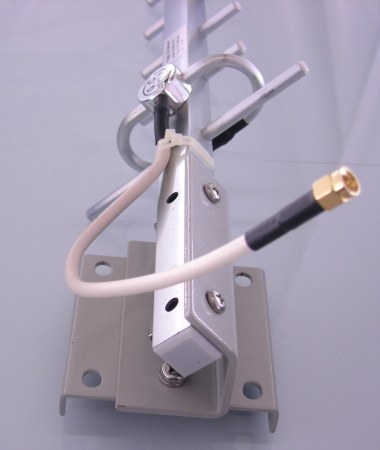
A small amount of assembly is required.
You’ll need a Philips Head Screw Driver, and an 8mm Spanner (10mm for larger Yagis).
Antenna Spacing
The antennas do not interfere with each other so long as they do not touch. However, it is good practice to mount them with at least one antenna width space between them, and they can even be mounted on separate poles.
Recommended Coax
We recommend using LMR-400 Coax cable for runs greater than 5m when connecting to 4G LTE 1800MHz. LMR-400 coax should always be used in low signal areas.
Which Antenna to which Modem Socket?
It’s not critical which antenna connects to the Main (port 1) or which to the Aux (port 2) antenna socket on your modem.

